As we settle into Malvern better, the children get invited to more and more parties which is lovely but still poses a problem when I have to buy gifts but then I don't really know the parents or children. They have been invited to quite a few recently and I have actually known the children in the most recent cases. This allows me to get a little crafty and make presents for them. Here are 2 bags I have made in the last couple of weeks, one for a boy and one or a girl who were both turning 1.
I began by usng the bigshot to cut out some squares of fabric. I confess I love the fabric I used in the bonnet and so used it again with a few additions in places but the colour scheme was the same. Once I had 16 squares, I arranged them and then sewed them together.
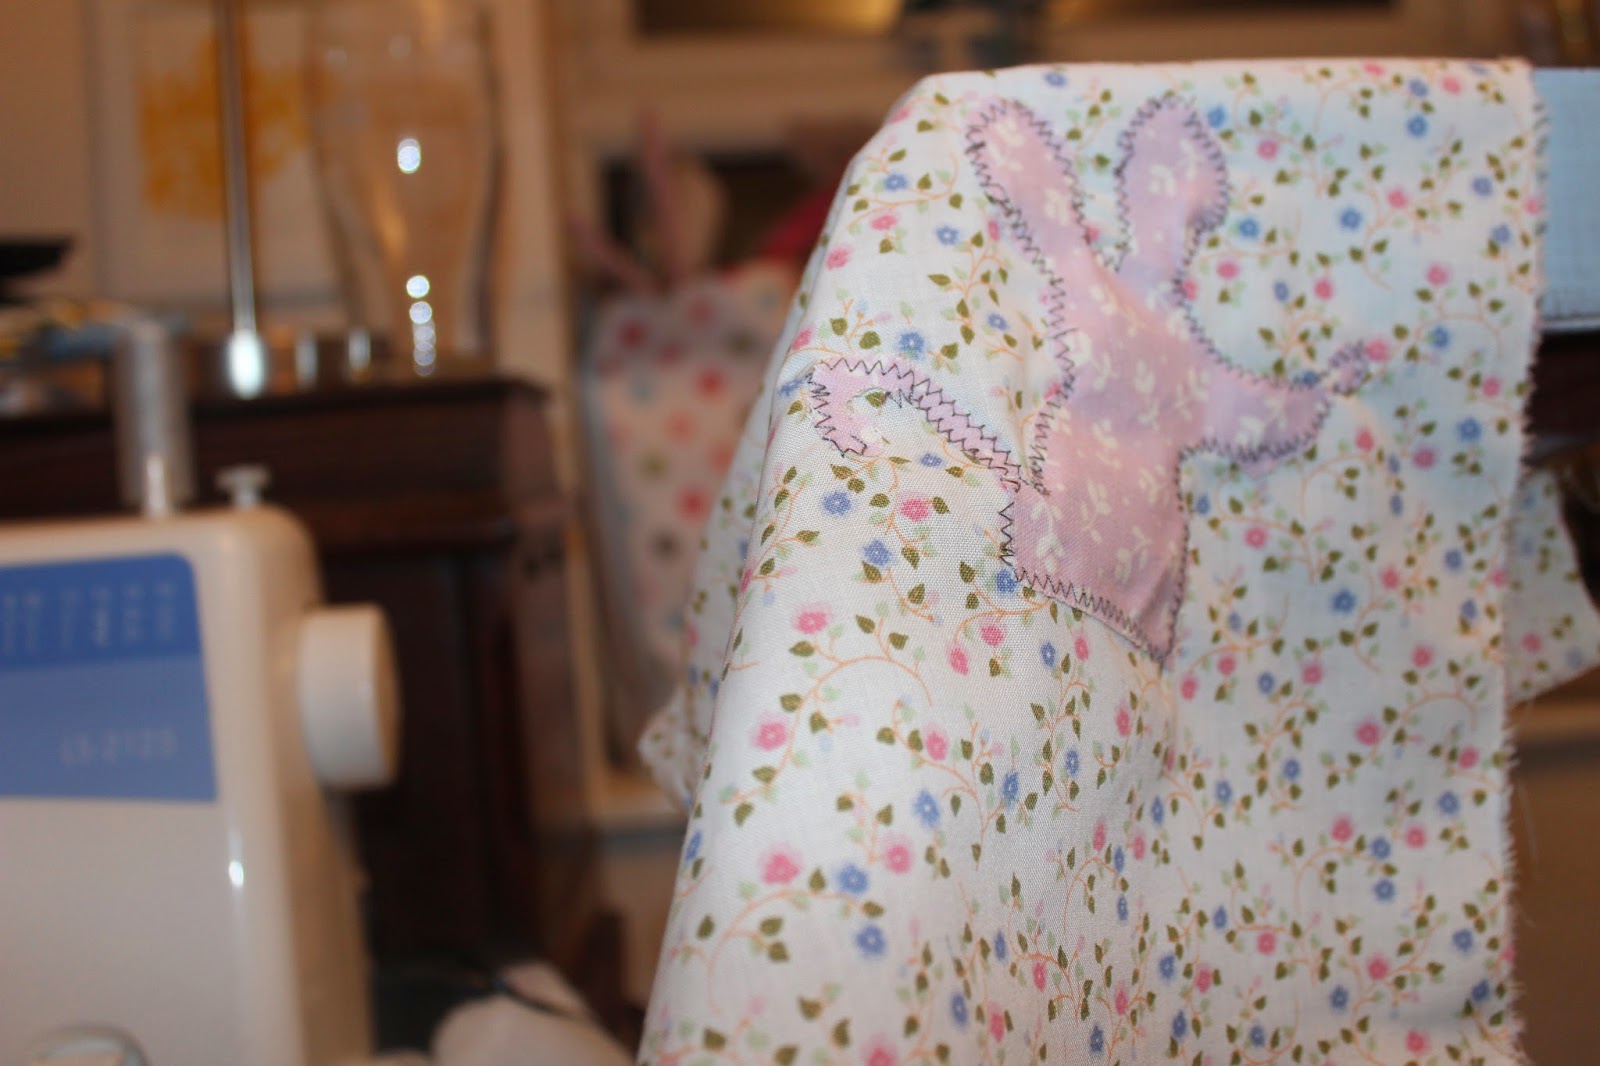
I also used the big shot to cut some circles from the same fabrics ad then made yoyo's (or Suffolk puffs).Yet again using the Big shot, I cut some mice out of a pretty lilac floral fabric and sewed one onto the back piece as an added detail. I hand sewed another mouse onto one of the squares on the patchwork front piece.
I added the party girl's name onto the corner of the bag as a little personalised detail with a die cut flower and button centre.
I then layered up buttons onto the yoyo's and sewed them onto the patchwork front piece along with some pretty wooden buttons and a crochet doily.
You may guess I was really going for the 'embellished' look!
Here is the 2nd Mousey!
Once I was finished with the front and back pieces, it was time to do te lining with a lovely mint green, large gingham piece and a co-coordinating fabric which had a wider flower spacing.
I attached the front and back pieces together bottoms together and then added the lining to the combined piece right side facing, leaving small gap to turn the whole piece right side ot and then hand sew the opening closed.
Then the moment of truth bit where you turn it out and check there are no holes!
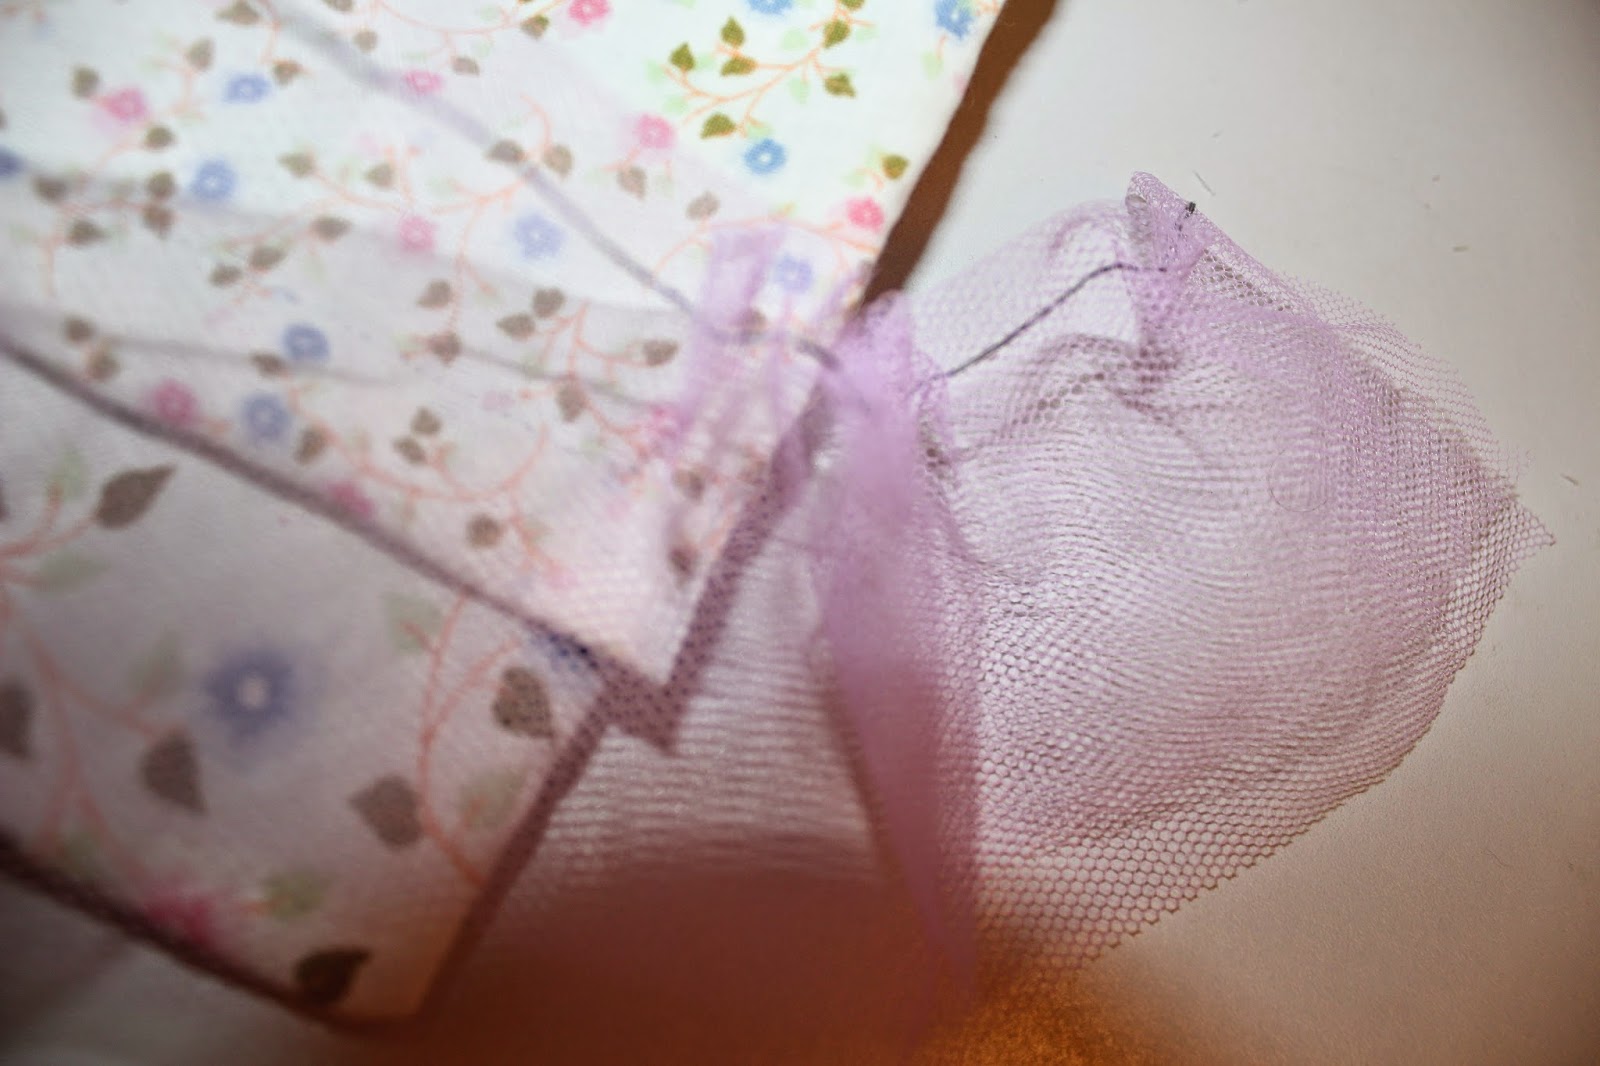
I admit his next bit may be seen as excessive but it as possibly my favourite part! I then took a piece of tulle and gathered it to make a ruche.
I added this to the top of the back section so hat the bag can be used either way.
I finished the ruched tulles with a piece of crochet lace.
Lastly I added the handles.
after uploading these pics and writing all about this lovely bag, I realise I did not get a pic of the final piece! Aghhhh note to self- take pictures of your makes. Doh! Fortunately, I can on this occasion ask my friend to take a pic and I will upload it once she replies!
This was the bag I made for the other little boy who was turning 1. I didn't have quite as much time this time and I also find boys harder to make for- mainly because my fabric are all floral!
And then since it was the end of the school term, I baked a boiled fruit cake from a family recipe for the teaching assistant and for her main teacher, we bought 4 beers and I fashioned this little paper/card holder, which believe it or not, took about 4 hours! Hand cutting takes ages- measuring, scoring then cutting, glueing etc. I was pleased with the end result though and that's all that matters. I doubt he had any other gifts quite like this and I believe the TA was very surprised to have had a present made for her. I have since made 2 other cakes for picnics which were well received and eaten quickly! Praise indeed. I'll try and take pics next time before they're demolished!


No comments:
Post a Comment